LED Headlight Fitting Guide: Everything You Need to Know
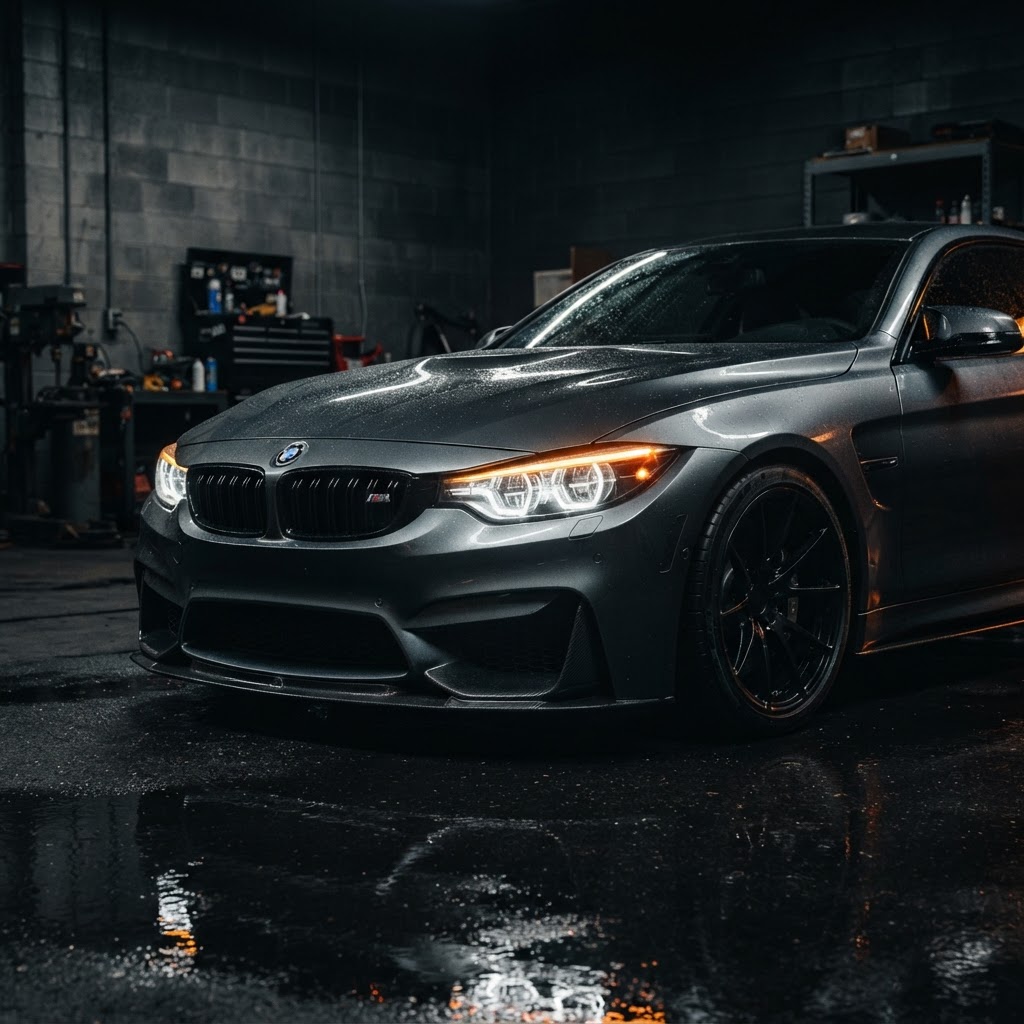
Why Upgrade to LED Headlights?
Upgrading from halogen to LED headlights is one of the most impactful modifications you can make. LED headlights offer:
- Up to 3x brighter light output than standard halogen bulbs
- Whiter, more natural light (6000K) that reduces eye strain on night drives
- Longer lifespan — 30,000+ hours vs 500–1,000 hours for halogen
- Lower power consumption — typically 25–35W vs 55W per bulb
- Instant on/off — no warm-up time, which matters for daytime running lights
For UK drivers, where winter nights are long and country roads are dark, the improvement in visibility is genuinely transformative.
Are LED Headlights Legal in the UK?
Yes — but with important conditions:
-
E-marked LEDs are road legal. Any LED bulb or headlight unit sold in the UK must carry an E-mark (E1, E2, etc.) to be legal for road use. All LED headlights stocked at LJ-Automotive are E-marked.
-
Self-levelling and cleaning systems. UK law requires that headlights over 2,000 lumens have automatic levelling and a headlight washing system. Most modern LED kits are designed to stay under this threshold, but it's worth checking the lumen rating.
-
Correct beam pattern. Your headlights must produce a correct beam pattern for UK (left-hand) driving. Poorly designed LED bulbs can scatter light and dazzle oncoming traffic. Always buy from a reputable supplier — not generic marketplace listings.
-
MOT considerations. LED upgrades that are E-marked and produce a correct beam pattern will pass an MOT. The MOT tester checks beam aim and pattern, not the bulb technology itself.
Types of LED Headlight Upgrades
1. LED Replacement Bulbs (H1, H4, H7, H11, etc.)
Direct replacement bulbs that fit into your existing headlight housing. The simplest upgrade — remove the old halogen bulb, insert the LED. Takes 10–15 minutes per side.
Best for: Quick, affordable upgrades on cars with standard headlight housings.
2. Full LED Headlight Units
Complete replacement headlight units with integrated LED technology. These replace your entire headlight, not just the bulb. More expensive but deliver superior beam control and aesthetics.
Best for: Show builds, modernisation projects, and cars where the original headlights are dated or damaged.
3. Sequential LED Indicators and DRLs
LED daytime running lights and sequential indicators that add modern styling. Not a headlight replacement — they supplement your existing lights.
Best for: Aesthetic upgrades on cars that look dated without full headlight replacement.
Understanding Bulb Fittings
The most common UK headlight bulb fittings:
| Fitting | Typical Use | Connector Type | |---------|------------|----------------| | H1 | Main beam (high beam) | Flat 2-pin | | H4 | Combined main + dip (dual filament) | 3-pin | | H7 | Dipped beam (low beam) | Flat 2-pin | | H11 | Fog lights, some dipped beams | Flat 2-pin | | 9005/HB3 | Main beam | Flat 2-pin | | 9006/HB4 | Dipped beam | Flat 2-pin |
How to find your fitting: Check your vehicle handbook, look at the bulb currently fitted (the fitting type is usually printed on the base), or search your vehicle on our site — we list compatible LED upgrades by make and model.
Fitting LED Bulbs: Step by Step
Tools needed:
- Clean gloves (never touch LED chips with bare hands — oil can damage them)
- Pliers (for stubborn bulb clips)
- Torx/Phillips screwdriver (for housing access)
- Cable ties (for tidy wiring)
The process:
-
Access the headlight housing. On most cars, you can reach the back of the headlight by opening the bonnet and removing the dust cover. On some cars (particularly VAG group), you may need to remove the entire headlight unit first — check your manual.
-
Remove the old halogen bulb. Disconnect the wiring connector, release the retaining clip or twist the bulb anti-clockwise (depending on fitting), and carefully remove the bulb.
-
Insert the LED bulb. Handle it with gloves. Most LED bulbs are designed to fit the standard retaining clip. If the LED bulb has a larger driver/heatsink, you may need to route the wiring through the dust cover — many kits include a rubber grommet for this.
-
Connect the wiring. Most LED kits use a plug-and-play connector that matches your car's original wiring. Some kits include a CANbus decoder (see below) — connect this between the car's wiring and the LED bulb.
-
Secure the wiring. Use cable ties to secure the LED driver/ballast away from heat sources and moving parts. Don't let it dangle loose.
-
Test before reassembly. Turn on the headlights (dipped and main beam) to confirm both sides work. Check for any dashboard error warnings.
-
Replace the dust cover. If the LED driver doesn't fit through the original cover, use the rubber grommet supplied with most quality kits. Don't leave the back of the headlight open — moisture ingress will cause problems.
-
Check beam alignment. Park facing a wall at about 5 metres on level ground. The beam should be flat and level, with a slight kick-up to the left. If it's pointing up or across, adjust the beam using the screws on the headlight housing.
CANbus Error Warnings Explained
Modern cars (particularly BMW, Audi, VW, and Mercedes) have CANbus systems that monitor bulb health. When you swap to LED, the lower power draw can trigger "bulb out" warnings on the dashboard.
Solution: A CANbus decoder (sometimes called an error canceller or load resistor) plugs inline between the car's wiring and the LED bulb. It simulates the resistance of a halogen bulb, preventing the warning.
Most quality LED kits include CANbus decoders. If yours doesn't, they cost around £10–£15 per pair. Check the product listing — we note which kits include them.
Common Mistakes
-
Buying non-E-marked LEDs. They may be cheap, but they're illegal for UK road use and will fail an MOT. Stick to E-marked products from reputable suppliers.
-
Fitting without checking polarity. Some LED bulbs are polarity-sensitive. If one doesn't light up, try reversing the connector before assuming it's faulty.
-
Ignoring the dust cover. Leaving the back of the headlight open lets in moisture, which will fog the lens and corrode the contacts. Always seal it properly.
-
Not adjusting the beam pattern. LED bulbs emit light differently from halogens. Even with the same housing, the beam pattern can shift. Always check and adjust after fitting.
-
Choosing on lumens alone. More lumens isn't always better. A well-designed 2,000-lumen bulb with a proper beam pattern is far better than a 6,000-lumen bulb that scatters light everywhere and dazzles other drivers.
Maintenance Tips
- Clean the lenses regularly. Foggy, yellowed headlight lenses reduce LED effectiveness just as much as halogen. Use a headlight restoration kit if your lenses have oxidised.
- Check the connections annually. Vibration can loosen connectors over time. A quick check at service time prevents intermittent failures.
- Keep a spare bulb. LED bulbs last a long time, but carrying a spare is wise — especially if you've fitted an unusual fitting type that's hard to find at a fuel station.
Browse our full LED headlight range — all kits are E-marked, CANbus-compatible options noted, and listed by vehicle fitment so you can find the right upgrade for your car.